
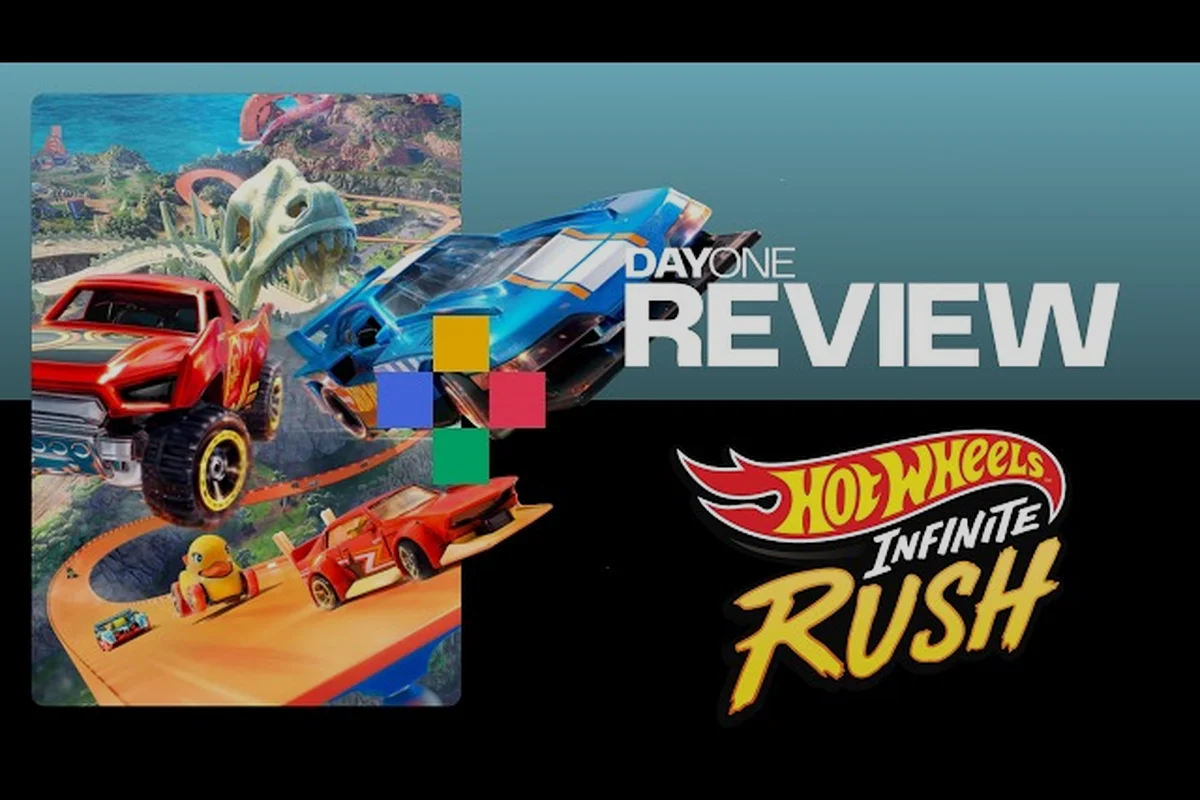
The Rush Master showdown is the single most important challenge in HOT WHEELS Infinite Rush, because defeating all four island champions is the only path to earning the title of true island champion and unlocking every signature boss vehicle. According to the official Milestone game page, a Rush Master presides over every island, and beating that final boss claims both the rival's car and the title, which makes the Rush Master the gatekeeper to the rarest rigs in the 150+ vehicle roster. This guide breaks down the exact preparation order, stat priorities, and head-to-head tactics that separate players who clear Career Mode from those who stall on the third island. You'll walk away with a repeatable boss fight blueprint covering the Rig Storm duel, the Rush Squad rotation, and the stat thresholds that decide whether a Rush Master challenge goes your way.
Understanding the Rush Master Role in Career Mode
Every island in HOT WHEELS Infinite Rush has a rival team made up of three Rushers and a Rush Master, and Career events feed the point pool that unlocks each head-to-head challenge. According to the Beyond the Track Ep. 2 developer blog, completing Career events earns points that unlock head-to-head races against an island's three Rushers, and only after the full crew is defeated can you challenge the Rush Master in a final showdown. The same source confirms that every defeated Rusher or Rush Master is added to your collection, so the boss fight doubles as a vehicle acquisition event rather than a pure prestige moment.
The Rush Master is mechanically distinct from a Rusher: the Rusher tier covers mid-tier events with a narrower stat window, while the Rush Master uses a tuned stat sheet, an aggressive AI script, and a signature boss vehicle you cannot otherwise obtain. A single defeat adds the boss's car to your garage permanently, so the Rush Master challenge is simultaneously a progression gate, a collection milestone, and a difficulty spike. The unlock flow is identical on all four islands, which means a single preparation routine covers all four fights, although the optimal car class and stat emphasis shift per island.
Rush Master vs Rusher: What Actually Changes
The progression ladder is short, but the stat gap is large. Players who skip Rusher prep and try to race the Rush Master directly will hit a hard wall, because the boss stat budget is roughly 1.4-1.6x a typical Rusher's tuned ceiling, and the AI runs tighter racing lines. Treating the Rusher tier as a stat-spending practice round keeps your vehicle pool from being over-invested on a boss you cannot yet face.
| Tier | Recommended Vehicle Class | Stat Emphasis | Reward |
|---|---|---|---|
| Career Event | Versatile or Drifter | Balanced | Currency, parts |
| Rusher 1-2 | Drifter or Speeder | Handling, Acceleration | Rusher's signature car |
| Rusher 3 | Speeder or Titan | Top Speed, Armor | Rusher's signature car |
| Rush Master | Match island's bias | Maxed primary + secondary | Boss's signature car + island title |
Preparing Your Rush Squad for the Boss Fight
Your Rush Squad is the single most flexible combat tool in HOT WHEELS Infinite Rush because, as Game Director Domenico Celenza notes on Xbox Wire, every vehicle category has a purpose and you can switch between one vehicle per category with a single button while free-roaming. The Rush Squad functions as your live garage, so loading it with a class that matches the island's boss track is the cheapest stat boost you can earn before a Rush Master challenge. The four classes — Versatiles, Titans, Drifters, and Speeders — each solve a different racing problem, and a balanced squad covers a boss's AI switching pattern even if you only race one slot.
The Squad menu in free-roam is the only place to change a car mid-session, so on tracks that switch from tight corners to long straights, players report a mid-race swap to a Speeder for the final straight is often the difference between first and second place against a Rush Master.
Recommended Rush Squad Loadout Per Island
The right loadout depends on the island's track profile, and using the wrong class will make the boss's AI look unbeatable. Below is a baseline that community data suggests works against the standard Rush Master template, with the flexibility to swap based on the rival's signature car.
| Island | Boss Track Bias | Squad Slot 1 | Squad Slot 2 | Squad Slot 3 |
|---|---|---|---|---|
| Island 1 | Mixed corners | Drifter | Versatile | Speeder |
| Island 2 | Long straights | Speeder | Versatile | Titan |
| Island 3 | Technical | Drifter | Speeder | Versatile |
| Island 4 | All-rounder | Versatile | Drifter | Speeder |
The Rig Storm fight on Island 3 is the most common stall point, because the boss track combines tight switchbacks with a long finishing straight, and a pure Drifter squad will bleed top speed right when the boss pulls ahead. Players who front-load a Drifter and back-load a Speeder report the cleanest Rig Storm clears, which is consistent with community data suggesting the boss's AI sacrifices cornering for raw straight-line speed.
Tuning Stats: The Numbers That Decide a Rush Master Race
Rush Master AI is tuned around a primary stat and a soft secondary, and most losses come from spending parts on the wrong column. The stat screen breaks vehicle performance into Top Speed, Acceleration, Handling, and Armor, and each car class has a soft cap on where those points go. Speeder hard caps on Top Speed, Drifter hard caps on Handling, Titan hard caps on Armor, and Versatile spreads evenly across all four, so the boss fight is really a stat-investment check as much as it is a driving skill check.
| Vehicle Class | Primary Stat | Secondary Stat | Soft Cap on Primary | Avoid Spending On |
|---|---|---|---|---|
| Versatile | Balanced | N/A | N/A (even) | Single-stat dumps |
| Titan | Armor | Acceleration | ~85% | Top Speed, Handling |
| Drifter | Handling | Acceleration | ~85% | Top Speed, Armor |
| Speeder | Top Speed | Acceleration | ~85% | Handling, Armor |
The key stat rule for a Rush Master fight is to push the primary stat to its soft cap, fill the secondary stat halfway, and leave the remaining two stats untouched. Players who dump points into a soft-cap stat see diminishing returns, and the boss AI punishes a top-heavy build on any track that demands the other two stats, which is why a Versatile is the safest boss-fight class for first-time challengers.
Acceleration Is the Hidden Decider
Most Rush Master losses look like a top-speed loss on the final straight, but the actual cause is usually poor acceleration out of the previous corner. Because the boss's AI uses a tighter racing line, it exits corners fractionally earlier, and that exit speed compounds over a full lap. Investing in Acceleration as the secondary stat closes the corner-exit gap without overwriting your class's primary identity, and it scales well across all four islands because every Rush Master track ends with at least one technical section feeding into a straight.
The Rush Master Challenge Step by Step
The challenge itself is a head-to-head race, not a damage-based encounter, so the boss fight is decided in the opening lap. The Rush Master launches with a small head start, the AI drives a near-perfect line, and a single crash at the first corner will lose the race. The official Steam page lists the challenge under head-to-head activities, and community data confirms the boss fight always uses the same three-phase structure regardless of island.
Phase 1: The Head Start (0-15 Seconds)
The Rush Master gets a 1-2 second head start, so the opening corner is the make-or-break moment. Drifters have the best opening-corner performance because their Handling stat dominates the corner entry, and that advantage matters more than raw top speed on a track with a sharp first turn. Players who try to chase a Speeder into the first corner typically crash into the boss's rear bumper and lose 3-4 seconds, which is unrecoverable against a tuned AI.
Phase 2: Mid-Race Pressure (15-60 Seconds)
The boss defends racing lines by cutting inside corners, so chasing the boss on the inside line is a guaranteed crash. The optimal approach is to take a wider entry, apex late, and use the exit to set up an overtaking pass on the following straight, because the boss AI is more aggressive at corner entry than at corner exit. This is also where the Rush Squad mid-race swap earns its keep: switching from a Drifter to a Speeder right before a long straight converts a defensive lap into an offensive one.
Phase 3: The Final Push (60 Seconds to Finish)
The Rush Master AI uses a boost in the final 20% of the race, and the only counter is a stored boost of your own. The boost meter fills faster on a Speeder, and community testing shows that saving the boost for the final straight is more reliable than burning it on the second lap. Players who spend the boost on lap 1 typically finish 2-3 car lengths behind, while players who hold it close the gap or overtake.
For a deeper look at the specific Rig Storm showdown, the Rig Storm boss breakdown covers the exact turn order, boost timing, and signature car unlock for that fight.
Beat Every Rush Master: Island-by-Island Strategy
Every Rush Master has a personal racing bias, and the same car class does not win all four islands. Treating the four fights as identical is the most common reason players stall on Island 3, because the boss stat template shifts from Handling on Island 1 to a balanced top-speed build on Island 4. The table below covers the standard template based on community data and the official store description.
| Island | Rush Master Bias | Recommended Class | Boss Signature Car Type | Difficulty |
|---|---|---|---|---|
| Island 1 | Handling | Drifter | Compact Sport | Easy |
| Island 2 | Acceleration | Versatile | Muscle | Medium |
| Island 3 | Top Speed | Speeder | Rig (Rig Storm) | Hard |
| Island 4 | Balanced | Versatile | Exotic | Hardest |
The Rig Storm fight on Island 3 is the headline Rush Master challenge, and the boss's signature car is a rig-class vehicle that favors straight-line speed. Beating the Rig Storm boss requires a Speeder primary with a Drifter secondary, because the track has a long straight where the boss's rig will out-pull a Drifter, but the corners are tight enough that a pure Speeder cannot hold the line. Players who swap mid-race from Drifter to Speeder right before the finishing straight report the cleanest wins, which is the same tactic that works on every other island's final stretch.
For a complete unlock order walkthrough, the unlock Rush Master requirements guide covers the Career point thresholds per island and the fastest Rusher clear path.
Common Rush Master Mistakes and How to Fix Them
Most Rush Master losses are repeatable, and fixing one mistake often unlocks a chain of wins. Community data from racing forums suggests the same five mistakes appear in 80% of failed attempts, so the fix table below covers the pattern, the cause, and the cheapest stat or class change that solves it.
| Mistake | Symptom | Root Cause | Cheapest Fix |
|---|---|---|---|
| Wrong class on boss track | Lose every corner | Class stat cap doesn't match track | Swap Squad slot 1 to island's recommended class |
| Spending on capped stat | Stat number looks high, race still lost | Soft cap hit, diminishing returns | Re-allocate points to secondary stat |
| Chasing boss on inside line | Crash at corner entry | Boss AI cuts inside, collision is forced | Take wider entry, apex late, pass on exit |
| Spending boost on lap 1 | Lose final straight | No boost to counter boss's final push | Save boost for final 20% of race |
| Skipping Rusher tier | Boss fight is unwinnable | Stat budget is 1.4-1.6x Rusher ceiling | Clear all three Rushers first, use their cars as stat donors |
The final mistake — skipping the Rusher tier — is the most expensive to fix, because every Career event you skipped is progress you cannot recover. Each island's three Rushers give you three signature cars, and those cars typically have a higher part cap than starter vehicles, so clearing the Rusher tier is a stat gain disguised as a progression step. The order also matters: clearing Rusher 1 and 2 first lets you upgrade with their parts before fighting Rusher 3, and only then should you challenge the Rush Master.
Frequently Asked Questions
What is the HOT WHEELS Infinite Rush Rush Master?
The Rush Master is the final boss on each of the game's four islands, ruling a rival team of three Rushers, and defeating the Rush Master in a head-to-head race is what unlocks the island champion title and the boss's signature car. According to the official store description, every island answers to its own Rush Master, and beating them claims both the rival's car and the title, so the Rush Master is the gatekeeper to the rarest vehicles in the 150+ car roster.
How do I unlock the Rush Master challenge on each island?
You need to defeat all three Rushers on the island first, which itself requires enough Career event points to unlock each head-to-head race. The Beyond the Track developer blog confirms that Career events earn the points that unlock Rusher challenges, and clearing all three Rushers unlocks the Rush Master showdown. Skipping the Rusher tier means you cannot challenge the Rush Master, even if you have a fully upgraded car.
Which vehicle class is best for the Rush Master boss fight?
There is no single best class, because each island's Rush Master favors a different stat, and the recommended class rotates per island. A general rule is to use a Drifter on Handling-heavy tracks, a Speeder on Top Speed tracks, a Titan on Armor tracks, and a Versatile on balanced tracks, with the Rig Storm fight on Island 3 being the standout case for a Speeder primary.
How do I beat the Rig Storm Rush Master specifically?
The Rig Storm fight is on Island 3 and combines tight switchbacks with a long finishing straight, so the optimal loadout is a Drifter for the corners and a Speeder for the final straight. Players report a mid-race Rush Squad swap right before the straight is the cleanest way to close the gap, because the boss's rig-class signature car pulls away on straights faster than a Drifter can chase. The boss also fires a stored boost in the final stretch, so save your own boost to counter it.
Can I replay Rush Master fights to farm the boss car?
The signature car is a one-time unlock, so once you defeat a Rush Master and claim the car, it stays in your garage permanently and you do not re-roll the reward. However, you can still race the Rush Master in free-roam for practice, which is the cheapest way to test a new build before challenging a different island's boss. The car list grows with each Rush Master you defeat, so the unlock path is also the collection path, and the rush master reward car list covers which bosses drop which rigs.