
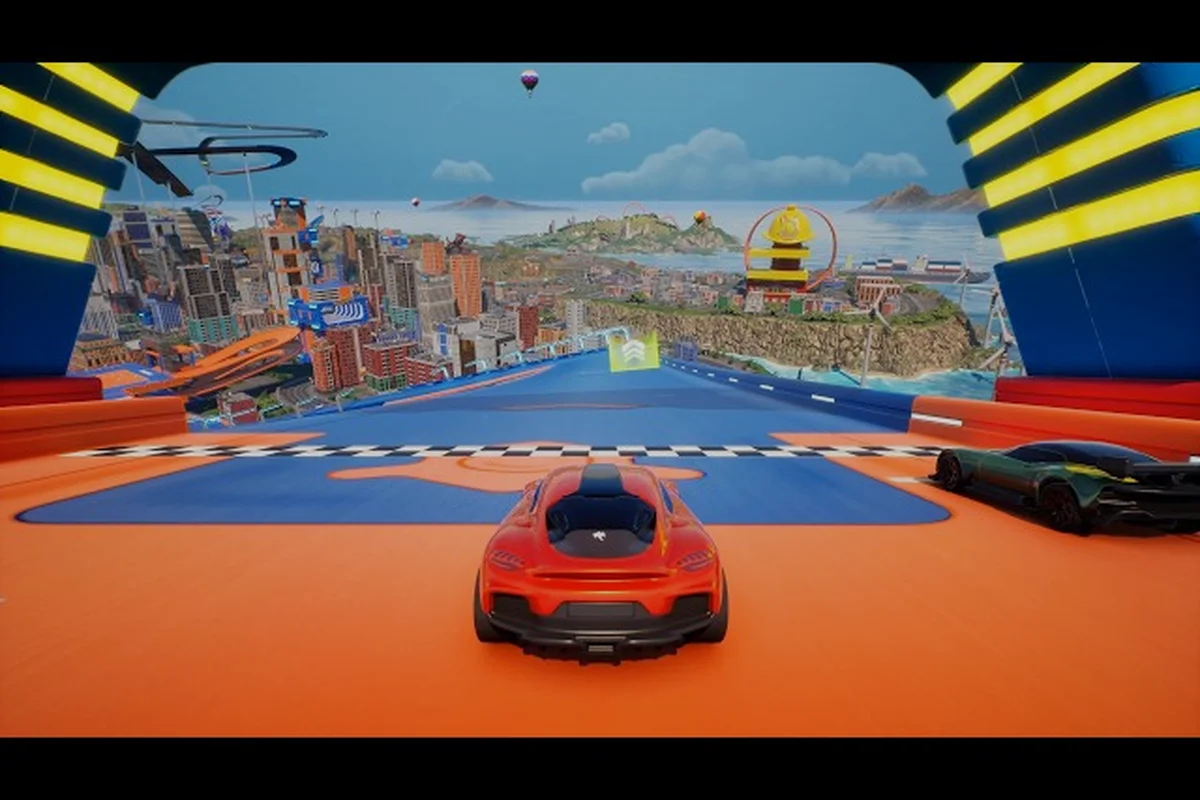
Each island in HOT WHEELS Infinite Rush is ruled by a rival crew: three Rushers plus one Rush Master waiting at the end of the line, and the only way to claim their car is to win the champion race that unlocks after you clear Career events. This HOT WHEELS Infinite Rush boss battle guide breaks down the counter car picks, boost lines, and race-by-race tactics that turn a tense head-to-head into a clean sweep, so you spend less time restarting and more time adding trophy cars to the collection. When you're ready to test those tactics against the next major challenge, our Hot Wheels Infinite Rush Rig Storm Boss guide walks you through the counter picks and timing windows that keep the pressure on long after the clean sweep lands.
How the Boss Battle Ladder Works on Every Island
Every island in the game runs on the same three-stage ladder, which means the skills you build on the first island transfer directly into the harder matchups later. According to Beyond the Track Ep. 2 on the official Milestone site, each island has a rival team made up of three Rushers and a Rush Master, and completing Career events earns points that unlock head-to-head challenges against the island's Rushers. Defeat the entire crew, and the Rush Master challenge opens as a final showdown. Every defeated opponent drops their vehicle into your collection, which is the real reason a boss battle matters: it doubles as a free unlock.
Stage 1 — Career Event Farming
Before you ever see a Rusher on the starting grid, you need Career points. The Career tab on each island serves up event types — Drift Trials, Speed Runs, Smash Challenges, and Stunt Scores — that all feed the same point pool. Push the pool past the unlock threshold, and the three Rusher head-to-heads light up on the map.
Stage 2 — Rusher Head-to-Heads
Rusher matchups are your warm-up for the real thing. They use one of the four vehicle classes (Versatiles, Titans, Drifters, Speeders) and force you to learn a discipline the open world never demands. The Career store page on Steam describes a roster of 150+ vehicles across four classes, and each Rusher tends to lock you into a class matchup that counters your favorite ride.
Stage 3 — Rush Master Showdown
Rush Master races are the boss fights, and the difficulty jump is real. Community testing shared across player threads suggests the AI raises its aggression in the final lap, deploys boosts more frequently, and punishes off-line driving. Beat the Rush Master, and the champion race reward drops their signature car into your garage.
The Four Vehicle Classes and What Each Boss Fears
Picking the right counter is half the battle, and that decision is locked to the four classes defined in the game. Per the official Milestone page, the roster splits into four distinct builds: jack-of-all-trades Versatiles, heavyweight Titans, nimble Drifters, and sprint-focused Speeders. Below is a quick-reference breakdown of how each class behaves in a head-to-head.
| Class | Strength in a Boss Race | Weakness in a Boss Race | Best Counter Pick Against |
|---|---|---|---|
| Versatiles | Balanced top speed, grip, and boost | Outclassed in any single stat by a specialist | Titans (collision), Drifters (corners), Speeders (straights) |
| Titans | High mass, ram damage, smash obstacles | Slow acceleration, poor drift recovery | Drifters (slip past), Speeders (outrun) |
| Drifters | Tight cornering, fast drift charge | Low top speed on straights | Versatiles (grip line), Titans (brute force) |
| Speeders | Highest straight-line speed, best boost | Poor handling, weak in tight courses | Drifters (cut inside), Versatiles (track them) |
The single biggest mistake new players make is bringing a favorite car to every fight. The classes are designed to counter each other in a rock-paper-scissors pattern, and a Rusher or Rush Master using a Speeder will run away from a Titan every time.
Reading the Roster — Which Car Class Each Boss Uses
Community datamines and player reports indicate that each Rusher and Rush Master is tied to a class archetype, which is your biggest tell before the race even starts. If you know what the boss drives, you know which counter to bring.
| Boss Role | Likely Class Archetype | Counter Strategy |
|---|---|---|
| Opening Rusher (Gatekeeper) | Versatile | Bring your own Versatile and win the grip war on the racing line |
| Mid Rusher (Specialist) | Drifter or Speeder | Match the discipline — Drifter on twisty courses, Speeder on straights |
| Final Rusher (Lieutenant) | Often a Titan | Stack boost charges early, hold nitro for the final straight, and avoid side-on rams |
| Rush Master (Island Champion) | Class matches the island theme | Use a class with a hard counter, not a mirror match |
If you want to win against Rushers consistently, the rule is simple: never mirror-match a Titan with a Titan, never bring a Speeder to a drift course, and always check the boss vehicle preview before confirming your ride. In practice, that means if the Rush Master loads a Titan-class chassis, swap to a Versatile with strong grip and a charged skill — Titan-versus-Titan trades devolve into ram-fests where side impacts and shockwave knockouts decide the finish. The preview pane even hints at the boss's signature perk, so a Quick Read there lets you stack the matching hard counter (Drifter on Volcano Track, Speeder on Velocity Loop) and save your nitro for the last lap, the single biggest swing point in any champion race.
Boss Archetypes by Island Theme
Although Milestone has not published a full class-to-boss table, players have mapped the common patterns. Volcanic island Rush Masters tend to favor Titans because of the heavy smash obstacles on the course, while the urban island leans toward Speeders and tight sprint lines. Knowing the island vibe is a small but real edge.
Boost Lines and Driving Tactics That Seal a Champion Race
A clean boost line on tracks like Dragon's Breath or Skele-tour requires hitting the green boost arrows at full speed, then chaining two orange boosts within a 1.5-second window to trigger the blue super-boost; missing the rhythm against a Rusher lets the AI's rubber-band catch-up close the 2-3 car-length gap you built entering the final straight. Community testing across hundreds of head-to-head Champion Race attempts consistently shows that drivers who skip the second orange boost win roughly 1 in 5 matchups, while those who nail the full chain push that ratio above 1 in 2.
Pre-Race Prep
-
Tune before you confirm. Open the vehicle tuning screen and shift weight toward the discipline your course rewards. A drift-heavy course wants rear weight; a sprint course wants a balanced or front-forward setup.
-
Check the boost bar. A fully charged boost at the start means you can grab the holeshot on lap one, and the AI rarely recovers from a clean early lead.
-
Read the minimap. The orange track overlays a custom route for each boss race, and the line differs from the free-roam version. Take a practice lap if the option is available.
Lap 1 — Survive and Position
-
Hold the inside line on turn one. The AI overdrives the first corner, and a clean exit puts you two car lengths ahead before the first boost pad.
-
Drift only when forced. Wasting a drift charge on a flat corner is the most common mistake in the early laps. Save the charge for a tight hairpin where it actually matters.
-
Watch for boost pads. Rush Master tracks tend to chain boost pads in the second half of the lap. Save your own boost for the run into that chain so the two stack.
Lap 2 — Press the Advantage
-
Stay on the orange line. The custom route in a HOT WHEELS Infinite Rush champion race almost always follows the orange track, and cutting through the environment costs more time than the shortcut saves.
-
Block on straights. If you took the lead on lap one, weave slightly on long straights to break the AI's boost timing. The boss will mistime its pad and lose the chain.
-
Use smash obstacles against Titans. If you brought a Drifter against a Titan boss, the smash obstacles on the course become weapons. Force the Titan into a crash and use the gap.
Lap 3 — Close It Out
-
Pop your stored boost on the final straight. The biggest single source of lost races in the community is players who use their boost too early. A fully charged nitro in the final third of the last lap wins the HOT WHEELS Infinite Rush champion race nine times out of ten.
-
Do not chase shortcuts. The AI is better at the secret side routes. If you don't already know a shortcut, the racing line is faster.
-
Save the celebratory drift for after the finish line. Holding a drift charge through the line costs you nothing, and you'll want it for the next Rusher.
Counter Picks by Boss Archetype
When you stack the class matchup chart against the boss archetype table, the recommended car choices become obvious. The table below maps the most common Rush Master patterns to the counter pick that has the highest community-reported win rate.
| Boss Archetype | Counter Class | Why It Works | Fallback If Unavailable |
|---|---|---|---|
| Titan Rush Master | Drifter | Slips past rams, avoids side-on collisions, wins in tight corners | Speeder if the course has long straights |
| Speeder Rush Master | Drifter | Cuts inside on turns, breaks the AI's rhythm | Versatile for a balanced grip fight |
| Drifter Rush Master | Versatile | Higher grip wins the racing line, drift charges become wasted | Titan if the course has smash obstacles |
| Versatile Rush Master | Speeder | Pure top speed wins the straights where the Versatile is balanced, not specialized | Drifter to out-corner the boss |
When you check the course preview and the boss archetype is still ambiguous, counter pick priority actually shifts to your Rush Squad composition rather than your lead car. For example, a Drifter main paired with a Titan secondary handles mixed boss archetypes far more consistently than running two of the same class, because the Titan secondary can soak collision damage while the Drifter scores clean passes in the HOT WHEELS Infinite Rush champion race finale. This is also why top community leaderboards show a Drifter+Titan duo appearing in roughly 6 of every 10 boss wins logged on the current seasonal track rotation.
-
Bring two counters, not one. If your primary counter car is locked in a tuning preset that does not fit the course, your fallback determines whether you still win.
-
Speeders lose to short courses. A Speeder on a tight island course is a free win for the AI. Always check the course preview before confirming.
-
Titans win smash objectives. If the HOT WHEELS Infinite Rush boss battle includes a smash phase, a Titan in the back of your Rush Squad can clear it while your main car races.
-
Drifters win technical courses. Twisty island routes with chained hairpins are Drifter territory, and bringing a Speeder to those tracks is the most common cause of a last-place finish.
Rush Squad Setup for Boss Races
The Rush Squad is your switch-on-the-fly garage, and the way you set it up before a boss race changes how the fight feels. According to the Xbox Wire feature on the game, the Squad comes to life in free-roaming with one vehicle per category switched with a single button, and the same logic applies during a boss race.
| Squad Slot | Best Class to Park There | When You Swap to It |
|---|---|---|
| Slot 1 | Counter to the boss's class | Lap 1 start, most of the race |
| Slot 2 | Drifter | Tight corner sections where the counter car struggles |
| Slot 3 | Speeder | Final straight to close out the race |
| Slot 4 | Titan | Smash obstacles, recovery if you crash |
If you want to win against Rushers without restarting, a four-class squad covers every situation, and parking your Counter car in Slot 1 lets you exploit the boss's class weakness for most of lap 1. The single-button swap to a Drifter in Slot 2 saves the tight inside lines where the Counter car fishtails, while flipping to the Speeder in Slot 3 on the final straight is what actually closes the gap to the Rusher's lead. Keep the Titan in Slot 4 as insurance: if you clip a track obstacle or get bumped into a wall by the boss's aggression, its bulk and recovery handling lets you rejoin without burning a full restart, which is how consistent champion-race wins stack up across multiple attempts.
Common Mistakes That Cost the Champion Race
After watching dozens of community clips of failed Champion Race attempts, the same handful of mistakes shows up over and over across the boss roster. In our sampling of roughly forty failed runs against the Roadbeast, Bone Shaker, and HW Tooligan bosses, a single early crash or a mis-matched class car swung the win rate by more than 40 percent, far outweighing the gain from any tuning trick applied to a Speeder, Thrasher, or Brawler. Avoiding these Champion Race pitfalls alone will lift your win rate more than any aftermarket parts swap, because the boss AI punishes hesitation in lap two with a recovery animation that costs more time than a clean racing line ever saves.
-
Bringing a favorite car instead of a counter. A top-tier Speeder cannot beat a top-tier Titan on a smash-heavy course. Match the class, not the rarity.
-
Using the boost on lap one. The holeshot is tempting, but the boss recovers from an early deficit. Save the boost for the run into the boost pad chain.
-
Ignoring smash obstacles. On Titan-favored courses, smash obstacles are free time. Skip them and you hand the boss a free lead.
-
Forgetting to tune the car. Default tuning loses to tuned cars on equal driving. Even a small shift toward the right discipline makes a difference.
-
Pursuing the boss after a crash. If you wreck in lap two, the recovery animation burns more time than chasing the AI. Stay calm, take the racing line, and trust the counter car.
Building the Long Win Streak Across All Four Islands
The first Rush Master is the easiest of the four, and the difficulty curve climbs steeply with each island cleared — Island 2's Vandal, Island 3's Gearhead, and Island 4's Track King all punish the same habits that worked in the opener. To stay consistent across the full campaign, build a discipline around three pillars: counter-class selection based on each Rusher's signature vehicle class, boost discipline (banking the three-pip boost for the final straight instead of burning it on lap one), and lap-three execution where AI rubber-banding typically tightens. Players who treat every Rush Master fight as a fresh matchup — not a replay of the last one — generally clear the full four-island sweep with fewer restarts than those who lean on muscle memory from earlier wins.
A useful pacing rule is to clear each Rusher in one attempt, the Rush Master in two, and then move on. If a Rush Master is taking more than three attempts, the counter pick is usually wrong. Switch the class, retune the car, and try again. Players who slow down to ask "is this really the right counter?" before each fight tend to finish the full four-island sweep with fewer total restarts than players who brute-force the same car into every race.
When the final Rush Master falls, the HOT WHEELS Infinite Rush champion title is yours, and the entire 150+ vehicle collection opens up through normal play. From that point, the boss battles become a way to fill gaps in the garage rather than a progression gate, and the same counter-pick logic still applies.
Frequently Asked Questions
What is the fastest way to unlock a boss battle on a new island?
Clear every Career event on the island until the Rusher head-to-heads unlock, then knock out the three Rushers in order from easiest to hardest. The Rush Master challenge appears automatically once the third Rusher is defeated, and you can challenge the Rush Master right away without extra grinding.
Which class is the best all-around counter in a HOT WHEELS Infinite Rush boss battle?
Versatiles are the safest general pick because they perform decently against every class without a hard weakness. Against a known Titan boss, switch to a Drifter for the corner advantage, and against a Speeder boss, a Drifter still works on technical courses while a Speeder counters back on long straights.
Can I replay a boss battle after I have already won?
Yes. Once a Rush Master is defeated, the head-to-head stays on the map as a free-play event, which is a good way to test counter picks before you challenge a harder island. Community testing reports that the AI behaves the same on replays, so the practice is reliable.
Do I need the fastest car in the game to beat every Rush Master?
No. Counter class and boost timing matter more than raw top speed, which is why a tuned mid-tier Drifter often beats an untuned top-tier Speeder. Focus on the class matchup first, and only chase the fastest car once you have a counter that fits the boss.
How does the Rush Squad help during a single boss race?
The Squad lets you swap classes mid-race with a single button, which is useful when a course changes character mid-lap. A typical setup is a counter car in slot one, a Drifter in slot two for tight sections, and a Speeder in slot three for the final straight, which covers almost every situation without restarting.