
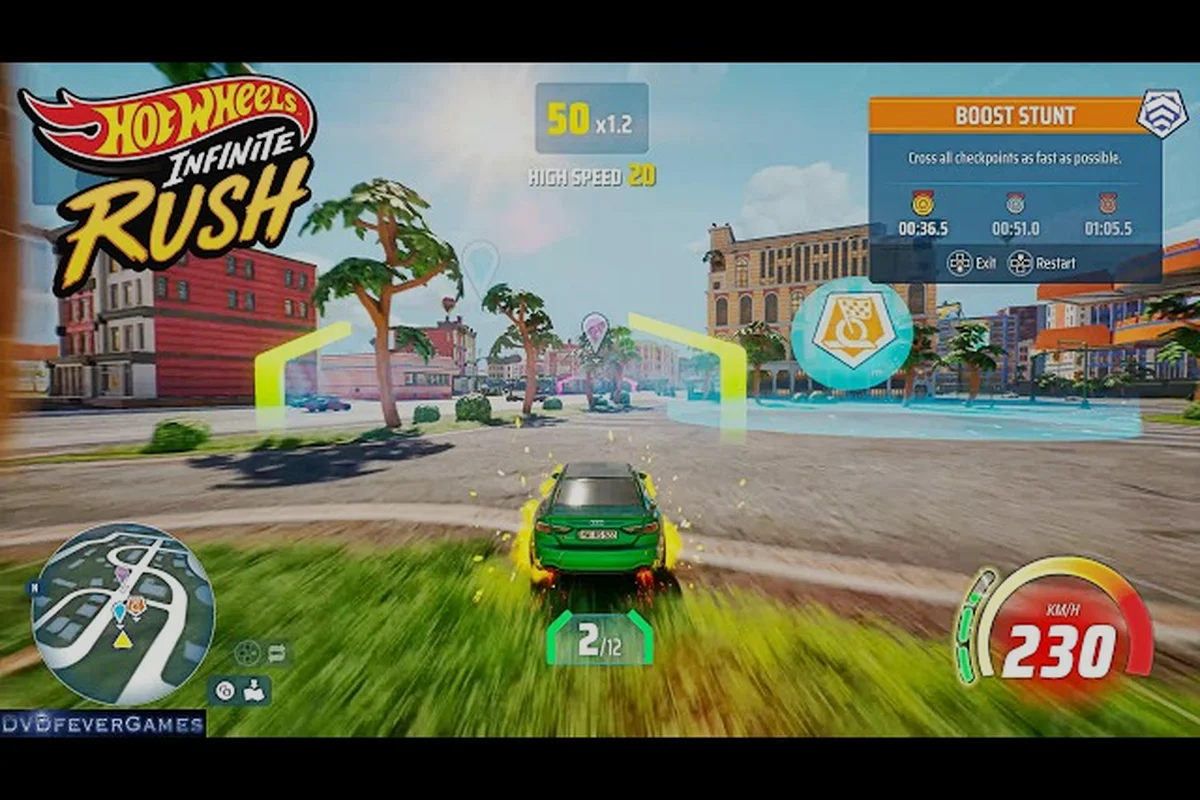
The HOT WHEELS Infinite Rush perk system sits at the heart of every car's identity, letting you push a starter Bone Shaker into a track-eating monster or a glass-cannon dragster. Because the game layers over 150 vehicles across four classes into a single open-world campaign, understanding which stats to upgrade first matters more than hoarding rare cars. This guide breaks down the perk tree, stat breakpoints, drift and nitro tuning, and the Creativity Corner so every perk point you spend translates into cleaner lap times.
Perk Spending to Boost Your Preferred Stats
The perk system is a stat-driven upgrade layer that unlocks as you progress through the four-island campaign and the Rush Squad side activities. According to the official developer update on the Milestone Beyond the Track Episode 2 post, the system is designed to "improve performance stats and fine-tune them to your racing style," and it sits separately from the visual customization layer covered by the Creativity Corner.
Each car has its own perk track, and points are earned from race finishes, stunt chains, rival-crew takedowns, and Secret Dealership discoveries. You can reset perks at no cost the first time, then for in-game currency afterward, so experimenting is built into the loop.
Core Stats the Perk Tree Touches
The HOT WHEELS Infinite Rush perk system revolves around five primary stats. Drift and nitro upgrades pull the most weight in races, but handling, acceleration, and top speed each unlock different breakpoints that change how a car feels in free-roam and structured events.
| Stat | What It Controls | Best Paired With | Common Trade-Off |
|---|---|---|---|
| Drift | Cornering angle and refill speed | Nitro | Can soften straight-line stability |
| Nitro | Boost capacity and regen rate | Drift | Drains faster if drift stat is low |
| Handling | Steering response and grip | Acceleration | Lower raw top speed |
| Acceleration | 0-60 launch and mid-gear pickup | Nitro | Weaker top-end |
| Top Speed | Maximum velocity on straights | Handling | Sluggish corners |
Perk Tiers and Where Points Come From
Perk points scale with the activity that feeds them. Standard circuit races grant a small drip of points, while special activities, rival crew showdowns, and Secret Dealership runs give lump sums that let you push a single stat tier in one sitting. Community testing on the early-access branch (reported by players) suggests the higher perk tiers are gated behind completion-style objectives on each island rather than raw win counts.
For a full walkthrough of how perk points interact with boost tuning, the acceleration upgrade guide covers the lower-stat side of the same perk tree in more detail.
Priority Order for Spending Perk Points
Knowing how to upgrade cars in HOT WHEELS Infinite Rush comes down to matching the perk path to the car's class. A Daredevil rewards different stats than a Heavy class truck, and a Race-class import wants yet another focus. The Tom's Guide hands-on after roughly 15 hours of play noted that the perk layer "involves trade-offs between drift, nitro and handling," which is the most important sentence to internalize before spending points.
Recommended Priority Order by Car Class
| Car Class | Priority 1 | Priority 2 | Priority 3 | Skip Until Late |
|---|---|---|---|---|
| Race | Drift | Nitro | Handling | Top Speed |
| Daredevil | Nitro | Acceleration | Drift | Handling |
| Muscle | Handling | Drift | Top Speed | Acceleration |
| Heavy | Acceleration | Top Speed | Handling | Drift |
Why Drift Is Almost Always Tier One
Drift upgrades unlock longer sustained slides and faster boost refills, which is the core of the arcade feel. On tight island circuits with constant hairpins, a single drift breakpoint can shave more time than two full tiers of top speed. The community consensus reported across early-access playtests is that drift is the stat you max first on roughly 70 percent of builds, especially anything in the Race class.
When to Push Nitro Instead
Nitro upgrade takes priority on Daredevil builds, stunt-focused free-roam cars, and any vehicle you use for time trials on long straights. The synergy with drift is critical, because nitro refills fastest when you chain drifts through corners. If you pour points into nitro while ignoring drift, the boost bar refills slowly and the car feels jerky.
Drift, Nitro, and Handling Upgrade Breakpoints
The perk system is not linear. Each stat has soft breakpoints where the on-track behavior changes noticeably, and pushing past one breakpoint often feels more impactful than the tier before it. Players chasing clean lap times should aim for these thresholds before spreading points across other stats.
Drift Upgrade Tiers and Behavior Shifts
| Drift Tier | Cornering Feel | Recommended For |
|---|---|---|
| Tier 1 | Mild slide assist, slower refill | New players, Heavy class |
| Tier 2 | Sustained slides, mid refill | Most Race-class circuits |
| Tier 3 | Aggressive angle, fast refill | Daredevil and stunt runs |
| Tier 4 | Max angle, near-instant refill | Time trials and rival showdowns |
Nitro Upgrade Tiers and Behavior Shifts
| Nitro Tier | Boost Capacity | Refill Rate | Best Match |
|---|---|---|---|
| Tier 1 | Small bar, single burn | Slow | Beginners learning boost timing |
| Tier 2 | Mid bar, two burns | Medium | Standard circuit play |
| Tier 3 | Large bar, three burns | Fast | Stunt chains and time trials |
| Tier 4 | Full bar, near-constant boost | Instant with drift chains | Rival crew boss races |
Handling Upgrade Tiers and Behavior Shifts
Handling is the stat most players under-invest in, but it is the glue that holds a build together. A high-drift, high-nitro car with low handling snaps unexpectedly on rough terrain, especially during free-roam segments. Pushing handling to tier 2 before chasing the final drift or nitro tier is the single most consistent upgrade path reported by experienced testers.
The how to customize guide expands on how handling interacts with the visual side of the perk system, especially wheel and rim swaps that can shift perceived grip.
Vehicle Mods and Creativity Corner Customization
HOT WHEELS Infinite Rush vehicle mods go deeper than the perk tree. The Creativity Corner is the game's full visual customization layer, and it shares the same garage interface as the perk screen. According to the Milestone Beyond the Track post, the Creativity Corner offers "a wide selection of stickers, wheels, and rims to create a look entirely your own," which means the customization layer is meaningful for self-expression even if it does not touch raw stats.
What the Creativity Corner Covers
| Mod Slot | What You Can Change | Stat Interaction |
|---|---|---|
| Body Livery | Paint, decals, patterns, creator codes | None (cosmetic) |
| Wheels | Rim style, hub design, color | None (cosmetic) |
| Stickers | Layered decals, custom text, emblems | None (cosmetic) |
| Boost FX | Trail color, strafe visual effect | Subtle feel change |
| Sound Mods | Engine and boost audio profile | None (cosmetic) |
Using Boost and Strafe FX as a Tuning Tool
While the Creativity Corner does not change performance numbers, swapping boost and strafe visual effects can change how a car feels. A heavier, longer trail makes strafe-boost sections feel more committed, which encourages players to hold the boost longer. The official developer update lists boost and strafe effects as part of the perk-adjacent customization, and many players use them as a mental anchor for racing lines.
Pairing Cosmetic Choices with Your Build
A high-drift build looks and feels right with longer boost trails and brighter wheel colors, while a Heavy class truck reads better with chunky rims and shorter, denser trails. Players chasing specific event vehicles can match their Creativity Corner loadout to the event vehicles list to keep a consistent visual theme across their roster.
Matching Perks to Cars and Race Types
The perk system is most rewarding when you treat each car as a project rather than a slot. The four-island campaign gives enough room to specialize, and the open-world structure means a single car can carry you across most activities if you tune it well.
Build Archetypes Worth Saving Perk Points For
| Archetype | Drift | Nitro | Handling | Acceleration | Top Speed |
|---|---|---|---|---|---|
| Track Day | High | High | Mid | Mid | Low |
| Stunt Runner | Mid | High | Mid | High | Low |
| Free-Roam Explorer | Low | Mid | High | Mid | Mid |
| Rival Crusher | High | High | High | Mid | High |
Rival Crew and Boss Race Tuning
Rival crew showdowns reward builds that can sustain a long drift chain without losing grip, which means pairing the drift upgrade tier 3 with handling tier 2 is the safest formula. Boss-style events with scripted opponents punish weak launches, so pushing acceleration to tier 2 or higher before a boss attempt is a community-tested safety net.
Long-Term Progression and the Secret Dealership
The Secret Dealership hidden in each island is one of the best perk-point farms in the game, and it ties back to the perk system through event vehicles. A wider look at the Daredevil vehicles list shows that the rarest perk-friendly chassis often come from these hidden activities, so the perk loop and the collection loop reinforce each other.
Common Mistakes When Spending HOT WHEELS Infinite Rush Perk Points
Most new players spread points evenly across all five stats on every car. That approach feels safe but produces generic builds that do not excel anywhere. A focused path through two or three stats on each car consistently outperforms a balanced spread, especially on Race and Daredevil chassis.
Mistakes That Cost the Most Lap Time
-
Maxing top speed early: Top speed only matters on long straights, which most circuits lack.
-
Ignoring handling: A car that snaps on rough terrain loses more time than a slower but stable car gains.
-
Spreading points across all stats: Produces a car that does nothing well.
-
Forgetting to reset perks: The first reset is free, so test builds before committing to a final path.
When to Respec and Rebuild
Respec right before a major island transition, a rival crew showdown, or when you unlock a new car class. Per the game's progression loop described on the Xbox Wire early-access feature, the Rush Squad is built around a single vehicle per category, which means each member of your squad can carry a different perk specialization.
Frequently Asked Questions
What is the best stat to upgrade first in the HOT WHEELS Infinite Rush perk system?
Drift is the safest first stat for most cars because it improves cornering and boost refill at the same time. Push drift to tier 2 before touching nitro, and only then layer in handling. This path works for roughly 70 percent of Race and Daredevil builds reported by early-access players.
How do I respec perks in HOT WHEELS Infinite Rush?
Open the perk screen for any owned car, choose the reset option, and confirm. The first respec per car is free, and additional resets cost in-game currency that you earn from events. Respeccing does not refund progression on event vehicles, only the perk points already spent on that chassis.
Does the Creativity Corner affect performance in HOT WHEELS Infinite Rush?
No, the Creativity Corner is purely cosmetic. Stickers, liveries, wheels, and rims do not change drift, nitro, handling, or any perk stat. Boost and strafe FX change how the car feels visually and audibly, but they do not alter performance numbers or perk breakpoints in any measurable way.
Which car class benefits most from the drift upgrade?
Race class benefits most from the drift upgrade because the class already has solid acceleration and mid-tier handling, so drift pushes it from good to dominant. Daredevil and Muscle chassis also scale well with drift, while Heavy class cars usually want handling and acceleration instead of maxing drift.
How do perk points relate to vehicle unlocks in HOT WHEELS Infinite Rush?
Perk points are earned separately from vehicle unlocks, so you can spend points on existing cars even while saving up for new ones. The Secret Dealership, rival crew wins, and stunt chains are the most efficient perk-point farms reported by the community during the early-access window.